.NET Core CI with Surf
I started taking a look at Paul Bett’s Surf project to do builds for things I work on. Currently I have things building in various other places, like Travis CI, Circle CI, etc. All of these options have one thing in common: they run your build in a Linux container that gets started on every build.
This worked fine for me, in fact I was really impressed with both services. But part of the build process was getting the environment in the right state. Installing packages with apt-get, pulling down some sources, building and installing them with make, etc. This got to the point where 90% of the build time was going to preparing the environment for the build. It eventually came to the point where we needed to be able to build our own container with all of the prerequisites already on it. We also needed something to do the actual building.
Enter Surf. Surf gives us exactly what Travis CI gave us. It checks out your repository, runs a build, and updates the GitHub PR status. That’s it. It’s hugely appealing because it’s stateless, built on node.js, and doesn’t even have a GUI. Contrast this with something like TeamCity or Jenkins, where you need to setup a database, spend time configuring remotes, builds, etc, finding the right plugins to update GitHub PR statuses, etc. Since Surf is stateless and very simple, it also made some sense to run it in a container.
Installing Surf is simple enough. It’s just a npm install -g surf-build.
There isn’t anything more to it.
There are two commands that surf gives that are of interest at this point:
surf-build and surf-run.
Surf-Build
surf-build is the command that will actually check out a your git repository
and run a build. Surf will try its best to figure out how to build your project
for you, but the option that works best for me is to just have a file called
build.sh (or .ps1 on Windows) in the root of your repository. Whatever you
put in your build script is how your project gets built. It could run MSBuild,
Cake, Make, etc. If the exit code is zero, your build passed.
surf-build by itself simply just runs the build with the git hash you give it.
It works like this:
surf-build \
    -s 56920f57db4afba1262b6969f577aaedd5e48b36 \
    -r https://github.com/vcsjones/AuthenticodeLint.Core
As always, I experiment with new ideas on my own projects first. This will run my build on the Git hash with the GitHub repository. That’s all it takes.
Surf in a Docker image is especially useful because I can have my whole build environment wherever I am. If I have surf in a Docker container, all I need to do is pull-down my docker image (or build it locally) and simply do this:
docker run -e 'GITHUB_TOKEN=<github token>' \
    -t 720adcff1217 \
    surf-build \
    -s 56920f57db4afba1262b6969f577aaedd5e48b36 \
    -r https://github.com/vcsjones/AuthenticodeLint.Core
A few things. surf-build expects an environment variable called
GITHUB_TOKEN to be able to update the pull-request status. It
will also use this token to publish a secret gist of the build’s log.
If you omit the GITHUB_TOKEN, Surf will still build it, but only if
the repository is public, and it won’t set a pull-request status.
Surf-Run
surf-build is fine and all, but it’s entirely manual. We don’t want
to have to run surf-build ourselves, we want to have surf watch our
repository and run surf-build for us. Enter surf-run. This command
does exactly what I want - it runs surf-build, or any command really,
whenever there is a new pull request, or when a commit is added to an
existing pull request.
It works like this:
surf-run \
    -r https://github.com/vcsjones/AuthenticodeLint.Core \
    -- surf-build -n 'surf-netcore-1.0.1'
surf-run watches the repository we specify, and starts whatever
process you want, as specified after then --. It also sets
two environment variables, SURF_SHA1 and SURF_REPO. This is how
surf-build knows what git hash to build instead of being passed in
with the -s and -r switches.
Running in Docker
My Docker image needs a few things. It needs node.js to run Surf,
it also needs .NET Core, to start. I needed to pick a base image,
so I went with nodejs:boron which is the 6.x LTS for node. I
chose this instead of one of the .NET Core images because I found
that installing .NET Core from scratch on an image was actually
easier than installing node.js. Now I need to put together a
Dockerfile with everything I need. To start I need all of the dependencies:
RUN apt-get install -y --no-install-recommends \
    curl \
	fakeroot \
	libunwind8 \
	gettext \
	build-essential \
	ca-certificates \
	git
Some of these are dependencies I need for some projects, others are needed
by surf or .NET Core, like libunwind8. These are the commands to install
.NET Core 1.0.1 on Debian Jessie, as verbatim from the Microsoft install
instructions:
RUN curl -sSL -o dotnet.tar.gz https://go.microsoft.com/fwlink/?LinkID=827530 \
    && mkdir -p /opt/dotnet && tar zxf dotnet.tar.gz -C /opt/dotnet \
    && ln -s /opt/dotnet/dotnet /usr/local/bin
This next step is a bit of a work around. I wanted my images as ready-to-go
as possible before actually running them. The dotnet command will do some
“first run” activities, like pulling down a bunch of nuget packages for the
.NET Core runtime. To do this when making the Docker image, I simply create
a new .NET Core project with dotnet new in the temp directory, then remove
it.
RUN mkdir -p /var/tmp/dotnet-prime \
    && cd /var/tmp/dotnet-prime && dotnet new && cd ~ \
    && rm -rf /var/tmp/dotnet-prime
There is an open issue on GitHub to facilitate this first-run behavior without side effects, like creating a new project or needing a dummy project.json to restore.
Next, we install Surf:
RUN npm install -g surf-build@1.0.0-beta.15
I locked to beta.15 of surf right now, but that might not be something you want to do.
Finally, we specify our command:
CMD surf-run \
	-r https://github.com/vcsjones/AuthenticodeLint.Core \
	-- surf-build -n 'surf-netcore-1.0.1'
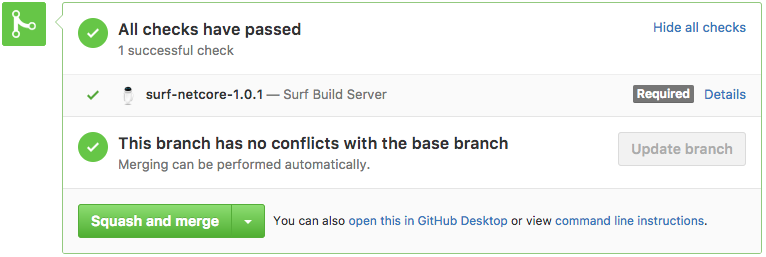
Now we have a Dockerfile for .NET Core with surf on it. With my Docker image running, I tested a pull request:

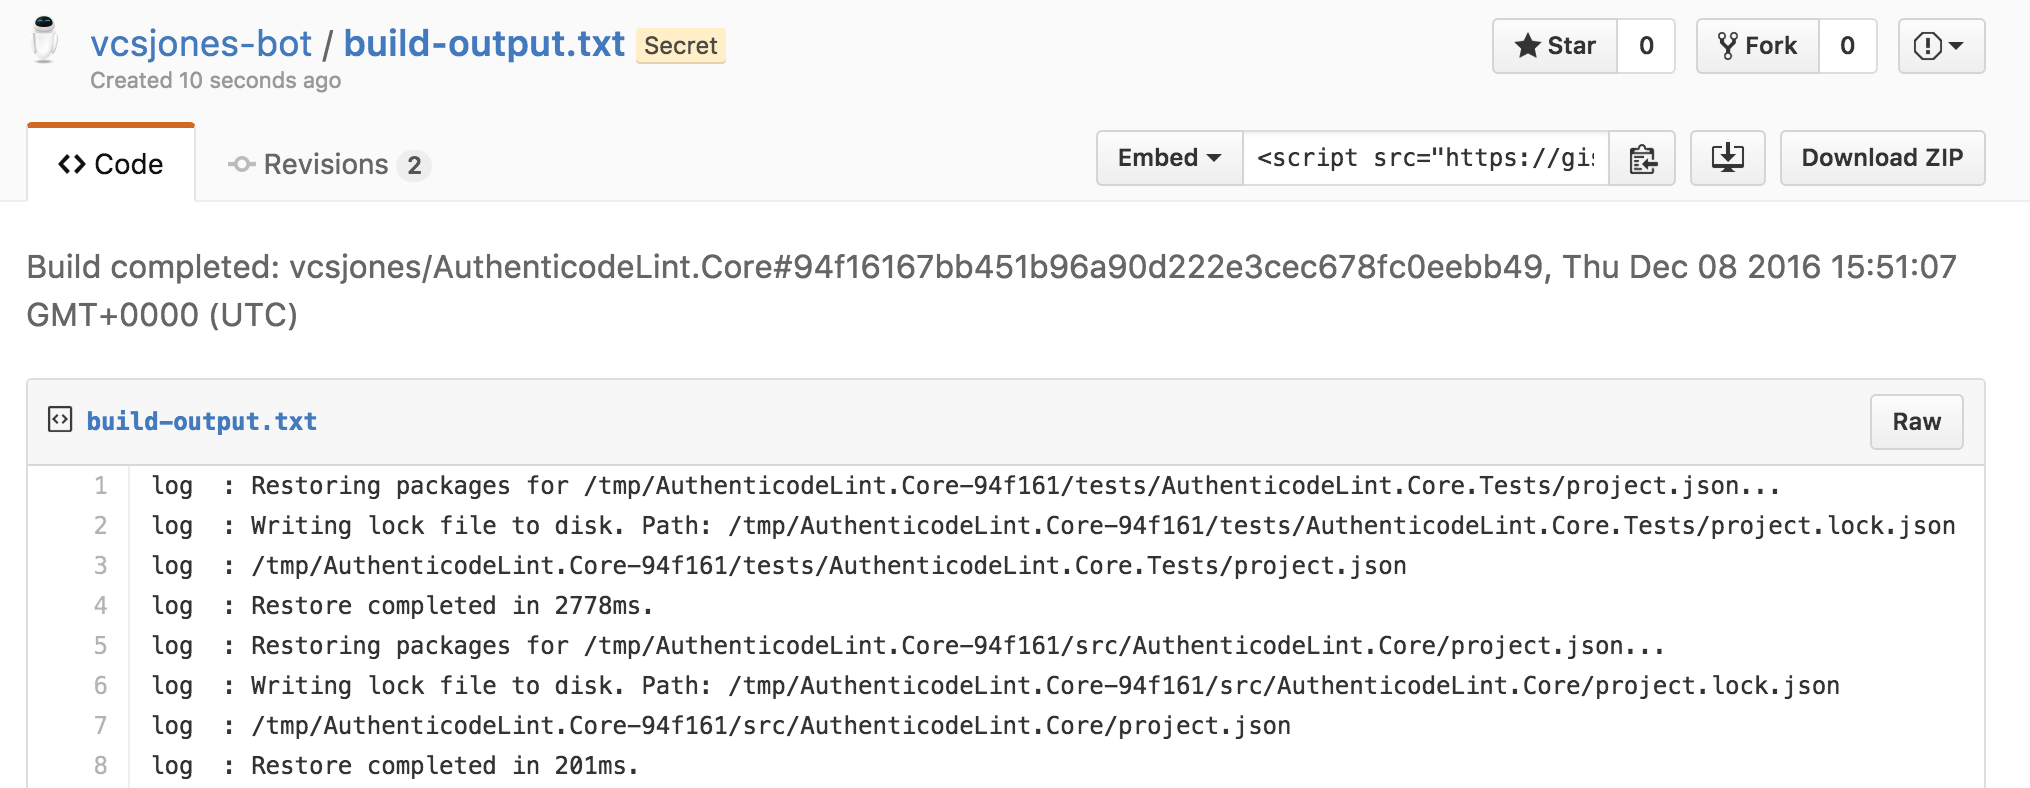
Success! This is exactly what I wanted. Surf publishes the build log as a gist, a simple way to view logs.

The actual build script in build.sh is a simple dotnet restore and
then dotnet test in the test directory. As far as the container itself, I
have it running in AWS ECS which works well enough.
All in all I’m super happy with surf. It does nothing more than I need it to, and I don’t have anything complex set up. If the container instance starts misbehaving, I can terminate it and let another takes its place. Having everything in a container also means my whole build environment is portable.